Seed saving 101: capture a favourite variety forever
The oldest practice in gardening, and the cheapest way to become a better one.
There's a fruit in your kitchen that tastes better than anything you've bought at a supermarket. A chili your grandmother grew. A basil that never bolted. The modern food system asks you to buy it again next year, from a packet labelled F1, in an envelope a little lighter than the one before.
You don't have to. Seed saving is the old default. Every variety Panya sells exists because someone, somewhere, kept a few seeds from their best plant and replanted them the next season. Do it a dozen times and the seeds slowly adapt to you: your soil, your rains, your pests. You become part of the variety's memory.
This is the short version. Thirty minutes to read, a season to practise.
Start with an open-pollinated variety
Every seed we sell at Panya is open-pollinated (OP) or heirloom. That means the seeds grow true. The next generation looks like the parent. This is not the case with hybrid F1 seeds from big seed companies. F1 hybrids are a cross of two parent lines, and saving their seeds gives you a genetic lottery where most of the offspring won't resemble the fruit you liked.
If the packet says F1, buy it again next year. If it says heirloom or OP, save from it forever.
The easiest crops to start with
Self-pollinating plants are the forgiving entry point. They fertilise themselves before the flower opens, so crosses between varieties are rare even if your neighbour is growing something else. Start here:
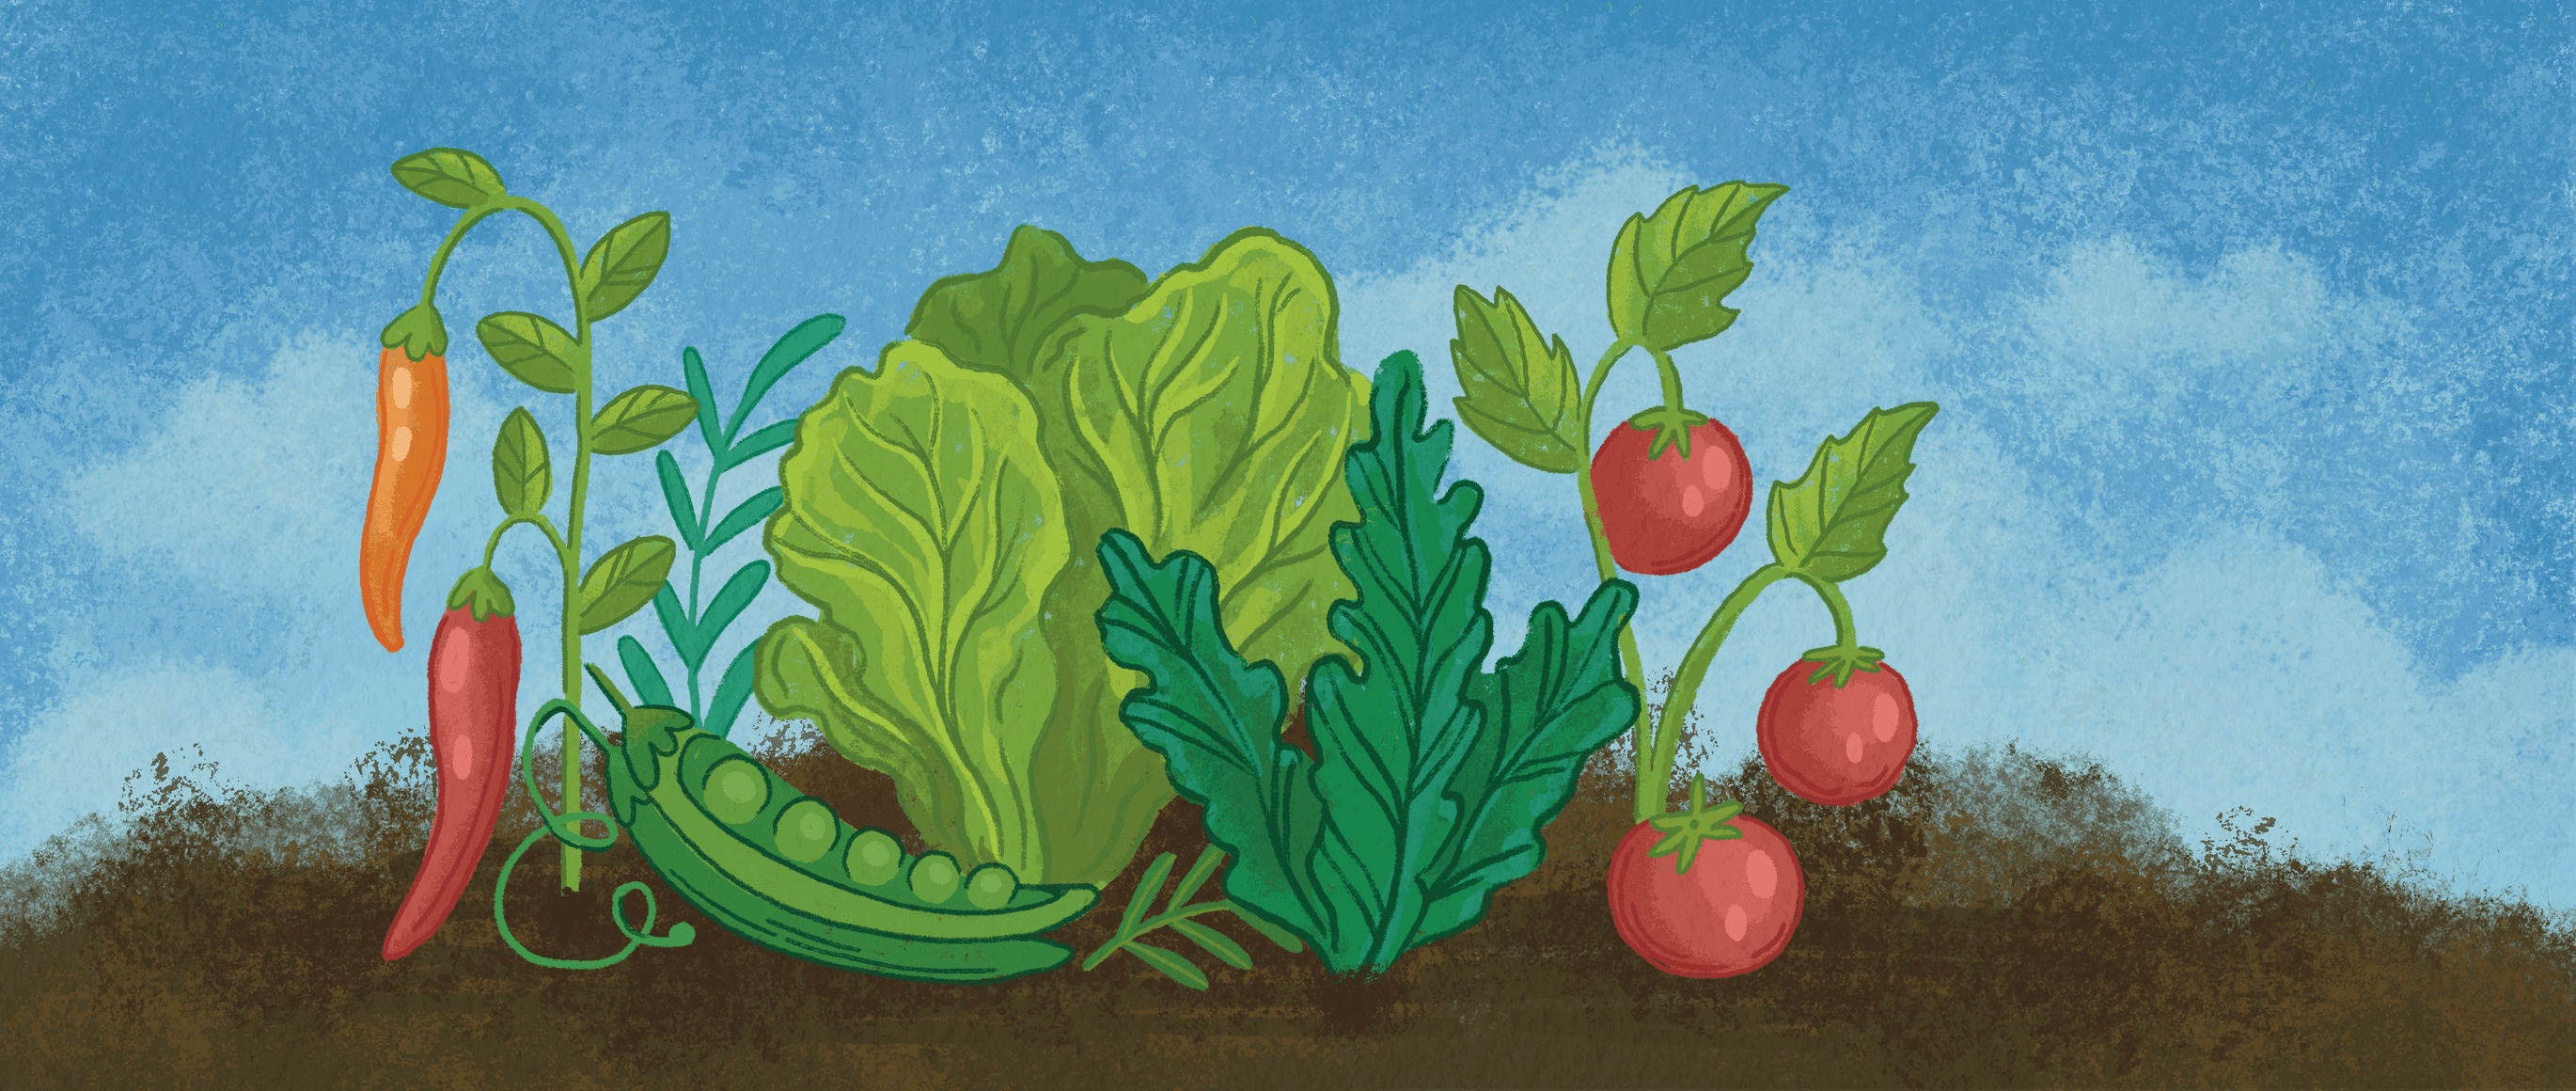
- Tomatoes: almost impossible to mess up
- Beans and peas: let the pods dry on the vine
- Peppers and chilies: a little trickier (crossed chilies get spicier, not weaker)
- Lettuces: bolt them, catch the seed, done
Avoid cross-pollinators for your first year. Cucurbits (pumpkin, cucumber, gourd) and brassicas (kale, cauliflower, cabbage) will happily cross with any nearby relative, including the wild bitter gourd down the road, and give you strange offspring. Those are worth saving eventually, but they need isolation.
The method, in five steps
1. Pick your best plant
Not your biggest fruit. Your best plant. The one that cropped early, resisted a heatwave, didn't get disease, and tasted right. You are selecting a parent. Do this early in the season and flag it so you don't accidentally eat it.
2. Let the fruit go past ripe
Eating-ripe is not seed-ripe. A tomato needs to go soft and wrinkled on the vine. A chili needs to turn deep red and start to dry. A cucumber needs to become a yellow football. Your instinct will tell you to pick it. Resist.
3. Extract the seed
For dry-seeded crops (beans, peas, lettuce, corn, coriander): let the pods dry fully on the plant, then shell them on a plate. Easy.
For wet-seeded crops (tomato, cucumber, eggplant, pumpkin): scoop the seeds and gel into a glass of water. Leave it on the counter for 3–5 days. The gel coat around each seed will ferment off (it smells, but that's normal) and the viable seeds will sink. Pour off the floaters and the gunk, rinse the sinkers, and spread them thin on a plate to dry.
The fermentation step is non-negotiable for tomatoes. It kills seed-borne diseases and strips a coating that otherwise stops germination. Three days, a jar, tap water. That's it.
4. Dry completely
Seeds with any residual moisture will mould in storage. Spread them on a paper plate (not plastic, which sticks) in a warm, shaded, well-ventilated spot for a week. A seed is dry when it shatters rather than bends between your teeth. Thai kitchens work. Thai bathrooms do not.
5. Label and store
Put the dried seeds into a paper envelope or a small glass jar. Label with:
- Variety name (even if you named it yourself)
- Parent plant: any notes about why you saved it
- Date harvested
- Where grown
Store cool, dark, and dry. A glass jar at the back of a cupboard is good. A jar in the fridge door is better. A jar in the freezer, if the seeds are bone dry, is best of all. At freezer temps seeds slow almost to a stop, and they can last a decade.
Test before you rely on them
Two weeks before sowing season, do a germination test. Count out ten seeds. Sandwich them between two damp paper towels in a ziplock bag. Leave on a warm shelf. After 7 days, count how many have sprouted.
- 9 or 10 out of 10: sow as normal
- 6 to 8: sow a little thicker
- 5 or fewer: the lot is fading. Save from a better parent next season
One more season, and they become yours
The magic is slow. First year, you're just keeping the variety alive. Second year, you notice the seeds sprout a few days faster. Third year, the plants look a little more like your garden than the seed you started with. By year five, if you've been picking the best plant each season, you have a variety that's meaningfully adapted to your beds. A grandmother plant, made by you.
That's the real prize. Not free seeds. A variety with a memory.
What to do next
- Pick one self-pollinating crop this season and flag your best plant now
- Keep a notebook. Two lines per plant is enough
- Share seeds with one other gardener. Cross-regional seeds are the strongest
And when the envelopes start to pile up in your cupboard, come find us. We're always looking for new varieties to steward for the region.
MORE FROM THE BEDS.
ONE EMAIL A MONTH.
Sowing notes, grower profiles, and recipes. Written in Thai and English. No spam.
All entries